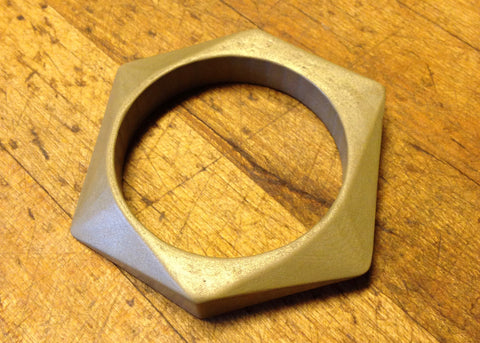
Finishing ColorFabb BrassFill
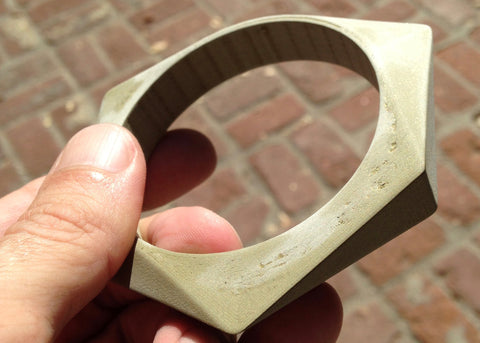
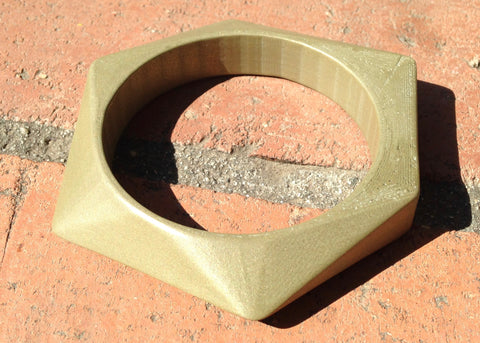
The main idea behind finishing this material is removing the visible layers from the outer perimeter of the printed object. Start with a course sanding and progressively finish with higher grit count and finish with a light polish. Applying pressure while sanding will remove a significant amount of material. Make sure to remove sanded material while working to make sure you don't go to deep.
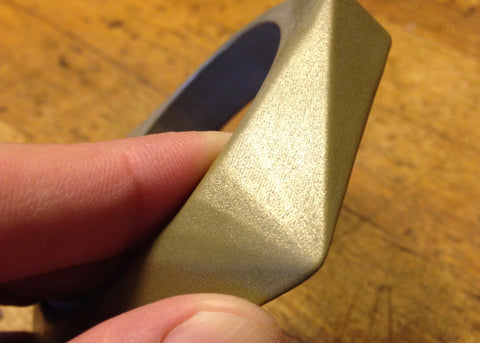
My first attempt at polishing was to lightly sand with a flexible 250 grit sandpaper. I noticed almost immediately the texture changing from a dull algae green to a soft metallic sheen. I progressively sanded with higher grit count and then wet sanded a bit before switching to steel wool. Initially you will want to sand "against the grain" so to speak - removing the most material to smooth the layers. Then, switch to a circular motion and finally try and sand "with the grain" or along the lines that should be slowly vanishing.
 |
 |
 |
 |
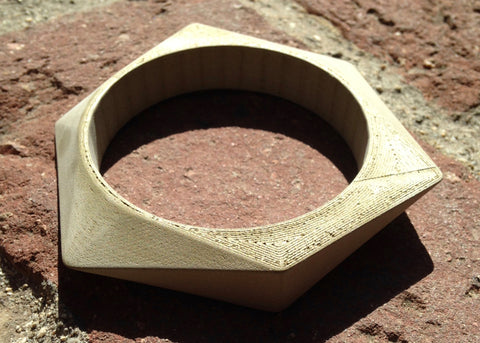
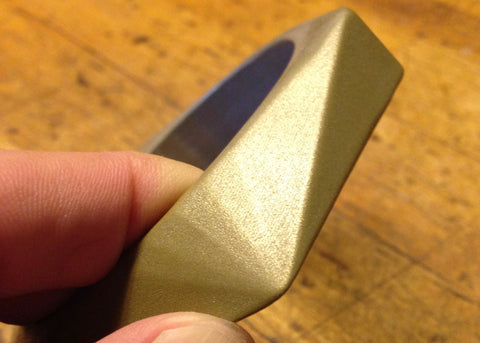
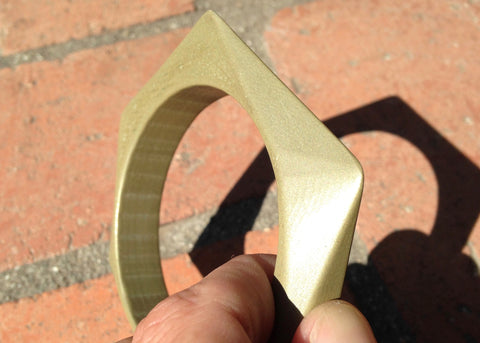
I found some 0 (rather coarse) and 0000 (very fine) steel wool and begun to polish the object. I found that I was unable to reach most of the fine detail in the crevices. I was able to bring out a very dull metallic finish with the steel wool. During my hand polishing I noticed quite a lot of the hard layer lines melting together. You’re effectively removing the first layer or so of material from the model. Don't be afraid to apply a bit of pressure - this will generate a bit of heat to help reveal the true color hiding under that dull green.
 |
 |
 |
 |
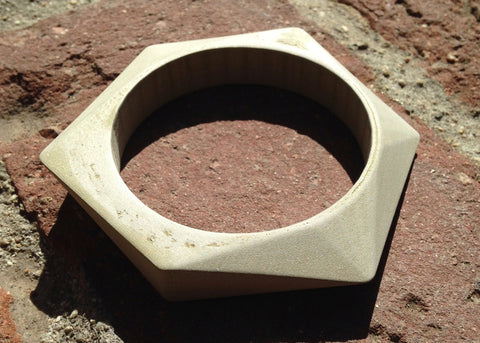
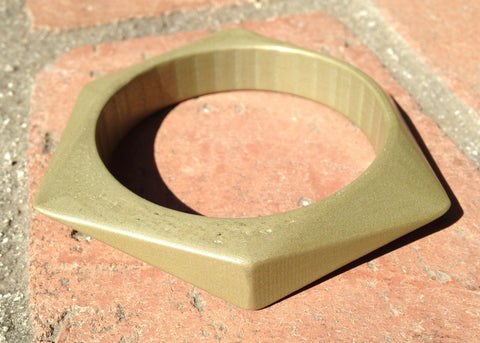
I decided to get to some of the harder areas to reach using a Dremel and a very fine wire bristle attachment. I was careful when setting the speed of the Dremel, too much friction (heat) will quickly destroy the model. I used a very low setting. I was very pleased with how easy it was to add weathering to the model using the Dremel.
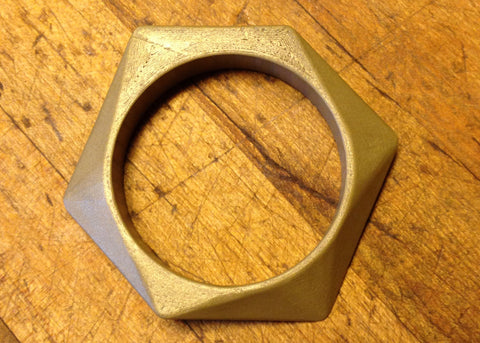
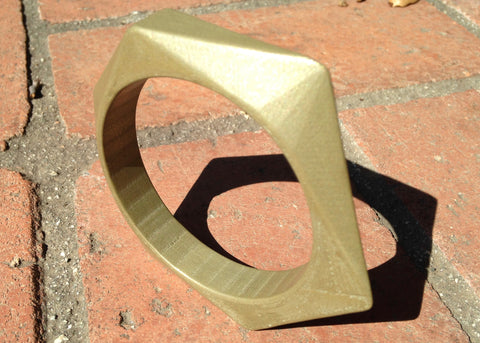
Finally I used a bit of Brasso to polish the model further. Brasso is a wet polish, typically applied with a cloth and can be hand buffed with a polishing pad or using a Dremel cloth attachment. It's a good idea to use in a well ventilated area, as it smells very much of ammonia. Brasso really takes the finished piece to a whole new level.
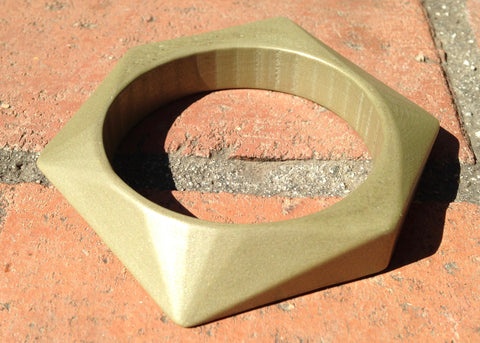
Flat surfaced models are infinitely easier to polish and shine. Organic models with lots of nooks and crannies will be difficult to bring to full shine. One option for organic parts would be using a vibratory enclosure with abrasive.
 |
 |
 |
 |
 |
 |
Final Thoughts
I’m excited about the potential of utilizing metal based filaments for things like electrical conductivity or the ferrous properties (potentially electromagnetic), however BrassFill does not have either quality. There are certainly metal based alternatives that do in fact offer such properties.
Surface bed adhesion is excellent - I experienced no warping with small to medium sized prints on 3M blue painters tape. I cleaned the tape before each print with Acetone. Finished prints may actually bend while removing from the bed. This is a property I have not encountered with PLA or ABS. Dropping a BrassFill print has a tendency to bounce a bit whereas PLA might shatter.
The potential for nozzle damage due to the high abrasiveness of the material is cause for concern. Several studies have been done recently illustrating the wear caused by exotic filaments versus pigment based PLA. A typical 3D printer nozzle is made of brass, and consequently forcing a brass based material through such a small diameter, wear will inevitably occur, although not as much as found with carbon fiber or other harder type PLA composites. Over extrusion would be a major factor in causing nozzle damage, not only to the inner diameter, but also the outer cone. As the nozzle drags itself along the previously (over) extruded material, it slowly grinds the tip away, revealing a much larger diameter and increased gap between nozzle and surface. Fortunately, there are many options besides brass nozzles. Several stainless steel nozzles have begun to gain popularity for their ability to extrude abrasive materials with little sign of wear.
Soft, metal based filaments like to be printed nice and slow. I found that BrassFill tends to absorb a fair amount of moisture, as I discovered visible escaping steam as I manually forced a good length through the hot end. It’s very fragile and should be handled with care. Make certain there is no tension in the feed. It does seem to be quite strong after printing, but I’m afraid to test anything too deliberately for fear of breaking my now prized prints. I found that 35mm/sec at 200 degrees was a comfortable speed for my bowden setup. Direct drive I would imagine a higher throughput.
Polishing and finishing BrassFill by hand is a lot of fun, although I can imagine a small abrasive tumbler would be ideal. One thing that becomes clear while finishing is the smell. There is the distinct smell of polished metal.
If you’re looking to create a substantial gift, ancient artifact or just something with weight and authority and don’t mind a bit of post processing, I would recommend highly any of the ColorFabb line of materials, however the BrassFill is truly unique.